The Arkansas Headwaters Recreation Area (AHRA) maintains the public river access along the river.
Trip Highlights
Mile 0: Pinnacle Rock River Access: AHRA (Arkansas boat ramp/parking area) with bathroom facilities.
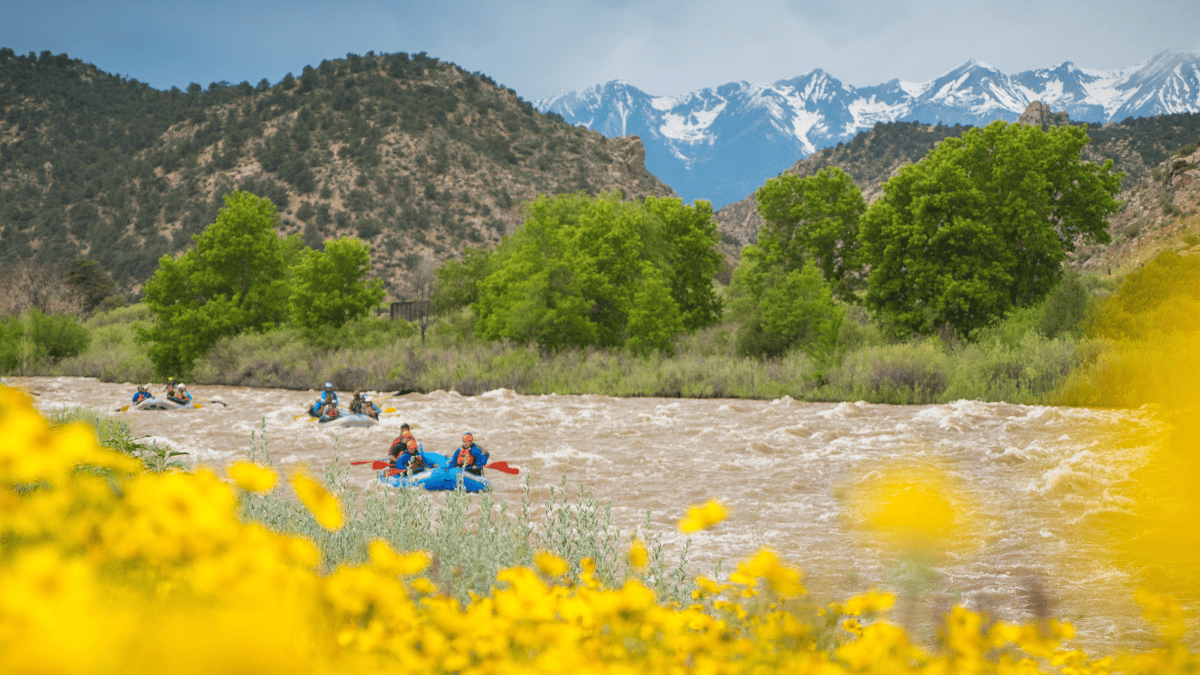
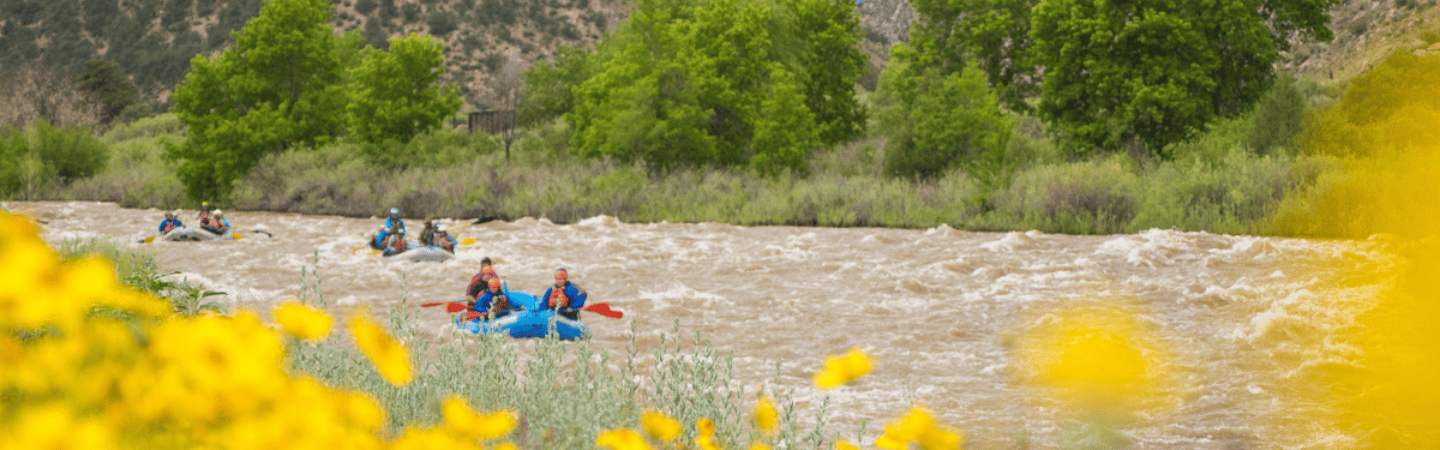
Spring Wildflowers above Prelude | Photo Credit Echo Canyon River Expeditions
Mile 0.75: Prelude/Wake-Up: Fun wavetrain rapid. Once you see the large ponderosa pine on river left you know 3 Rocks is coming up next.
Mile 1.22: Three Rocks Rapid (III-V) is debatably the most difficult rapid on the river at very high water. At extreme high water (Between 3200-4500 cfs), some commercial companies even choose to portage the rapid by taking out at Pinnacle Rock and putting back in at Salt Lick. This rapid is easy to scout on your drive up to put in by pulling over on the side of the road.
Mile 1.57: Salt Lick River Access: CDOT (Colorado Department of Transportation) put in. Very small “Commercial use” roadside put in. Unload time of 10 minutes maximum.
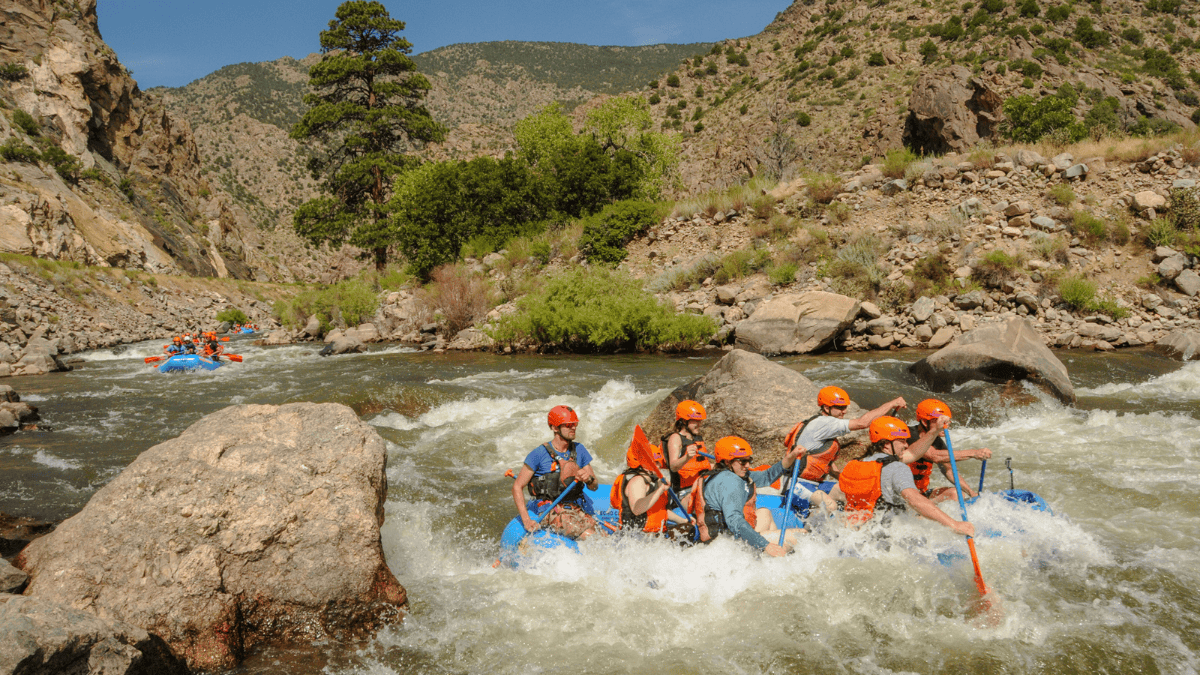
Mile 1.87: Five Points Rapid (II-III). Five canyons all converge at this rapid making it a popular location for runoff & debris. Great photography location with a bridge that comes partially over the river.
Mile 3.79: Spike Buck River Access: River access just upstream of Spikebuck rapid. AHRA-based access with bathroom facilities.
Mile 4: Spike Buck Rapid (III): Long class III rapid that is technical at lower flows and turns into large features at high flows (Class IV at high flows). AED and Backboard located at the bottom of the rapid on river right.

Mile 5.35: Shark’s Tooth Rapid (III): Fun roller coaster style rapid with a large wave train down the middle depending on flows. At lower flows “the tooth,” which is a rock at the center bottom of the rapid, is a rock you want to go left of.
Mile 5.91: Single Dip Rapid (II): Read and run rapid on the left side of the river just 20 yards upstream of Double Dip.
Mile 5.95: Double Dip Rapid (II): Read and run rapid on the right-hand side of the river, fun waves back to back.
Mile 6.38: Satan’s Suckhole: A fun feature to play in, but washes out below 1200 and above 1800.
Mile 6.42: Log Jam Rapid (II): Log Jam’s line is right down the middle, splitting the field goal post rocks up top to start the rapid. Just after Log Jam there is rebar and sharp concrete on river left shore; the water naturally pushes you towards it, though it is easy to avoid. This is debris that has been placed under the train tracks as the foundation.
Mile 6.51: Puppies Tail at low flows (II), Kamikaze at high flows (IV): At either flow you can avoid everything by going river right along the shore. At low flows it consists of a couple big rocks you need to avoid. At higher flows, Puppy’s Tail turns into Kamikaze with two massive breaking cresting waves that are center-center left in the river. Easy to avoid.
Mile 7.2: Last Chance Rapid (II): Last rapid before Parkdale takeout. Read and run rapid; you can go right down the middle. Many commercial rafts spin in circles as they navigate the rapid for funzies. Large rock in the river – flat from here to takeout. Fun splat rock!
Mile 8.1: A bridge passes overhead, signaling that Parkdale River Access is a half mile downstream. The river access directly on the left is private property.
Mile 8.6: Parkdale River Access: This is extremely busy in the summer, as it is both the take-out for this section and the put-on for the Royal Gorge. AHRA Day Parks pass - Daily Vehicle Pass $10, Individual Daily Pass $4 (per head) at put-in or takeout.