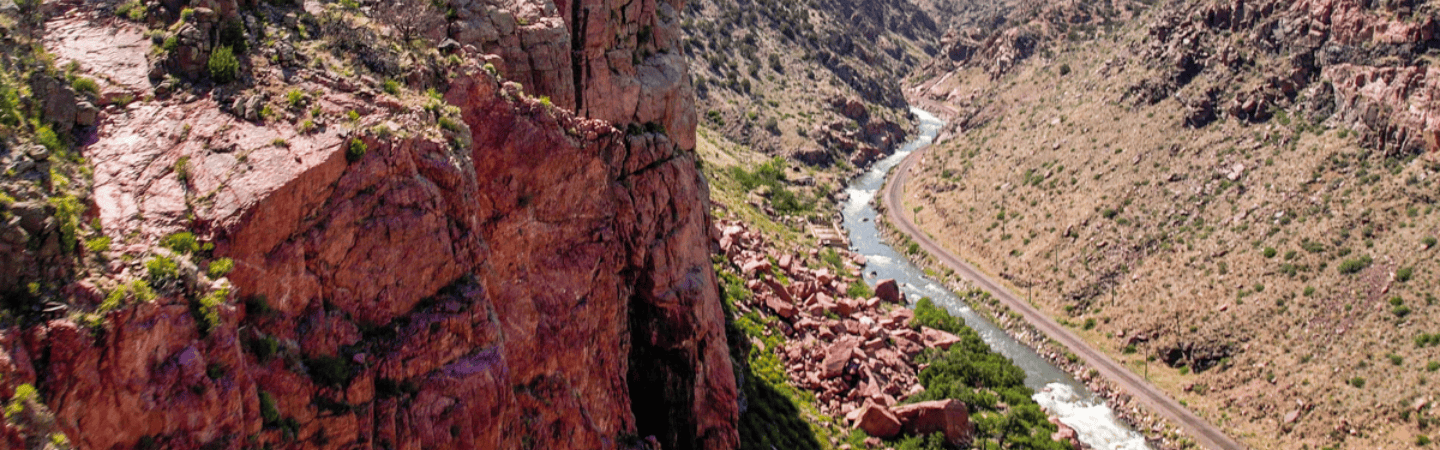
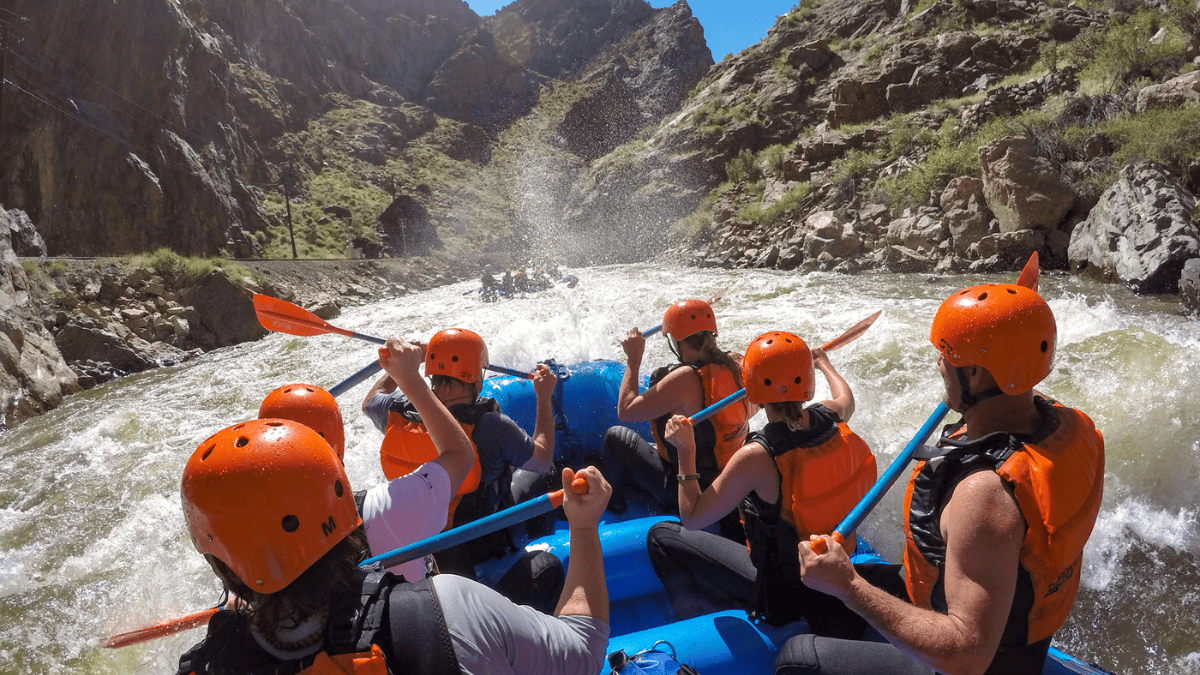
The Royal Gorge is one of the most exciting sections of the Arkansas River, carving through a deep, narrow gorge with walls rising almost 1,000 feet above the river. Its dramatic scenery is matched by its challenging whitewater, making it a must-paddle for thrill-seekers.
Trip Highlights
Mile 0: Parkdale Put in — AHRA-based put-in with bathroom facilities. AHRA Day Parks pass: Daily Vehicle Pass $10, Individual Daily Pass $4 (per head). Pay at put-in or take-out (typically wherever you park your vehicle).
Mile 1: Highway 50 bridge marks the last time you will be near pavement for the rest of the Royal Gorge run. The river re-enters Paleozoic granodiorite rock here.
Mile 1.8–2: El Primero, El Segundo, El Tercero (Class II–III) — Primero is the first rapid as you enter the Royal Gorge; gorge walls begin to form after this rapid. El Segundo is immediately after Primero. El Tercero is the final warm-up rapid before heading into the heart of the gorge.
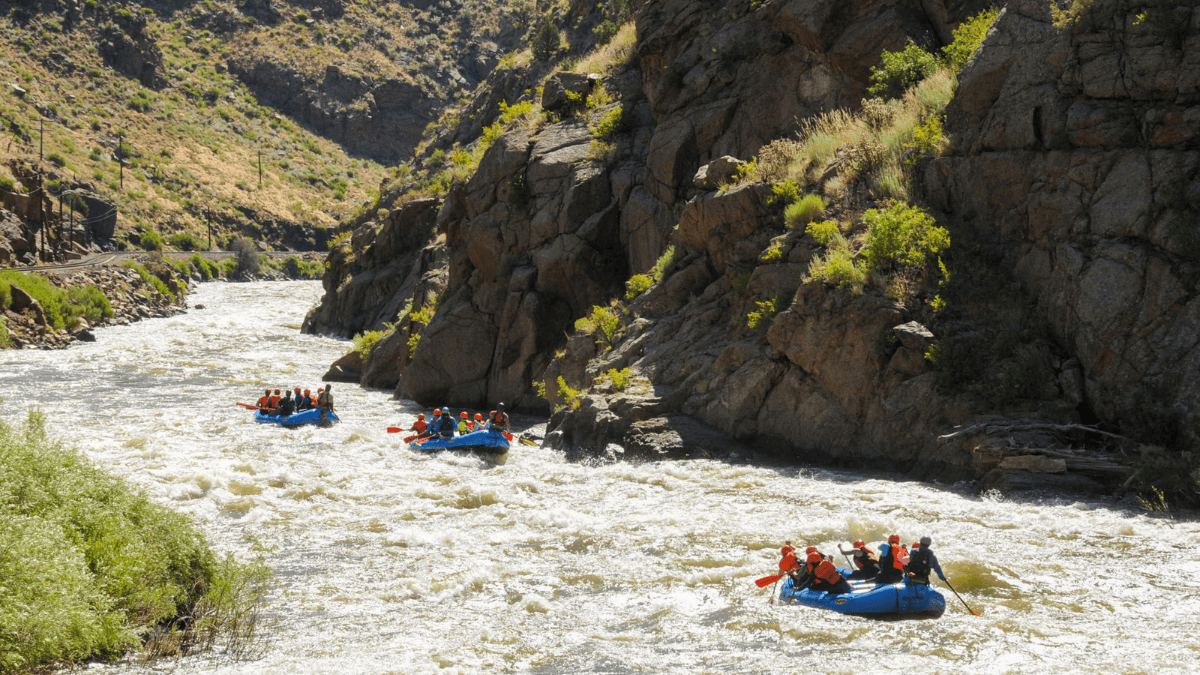
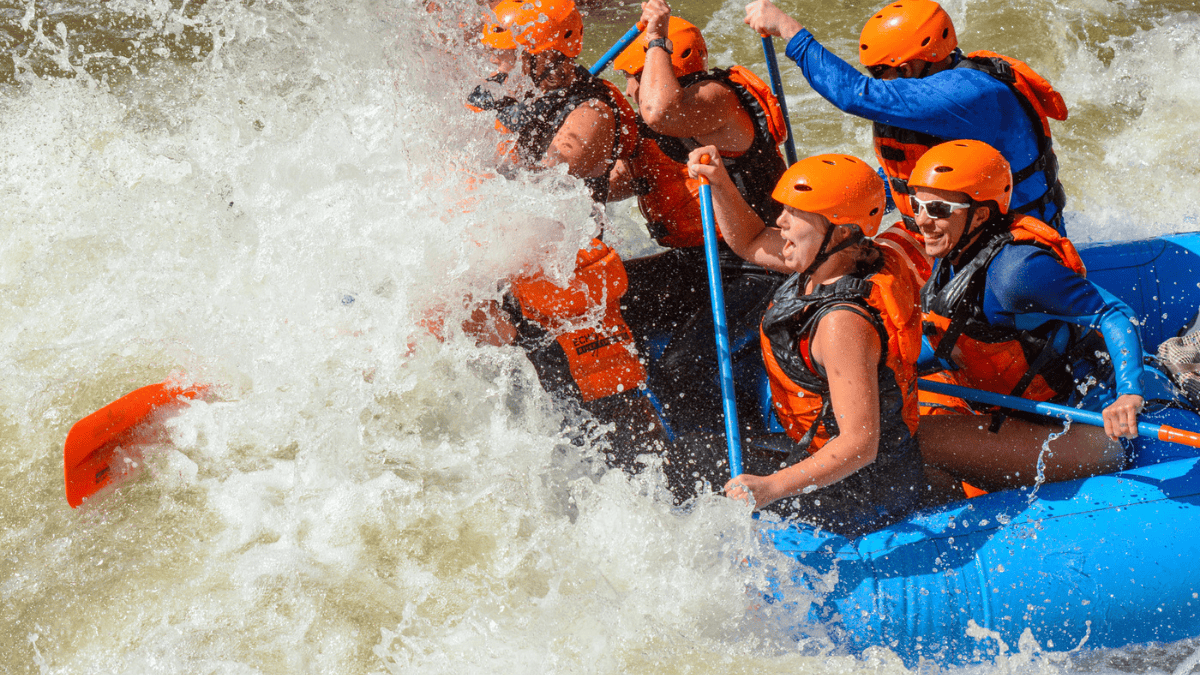
Entering "The Gorge" | Photo Credit Echo Canyon River Expeditions
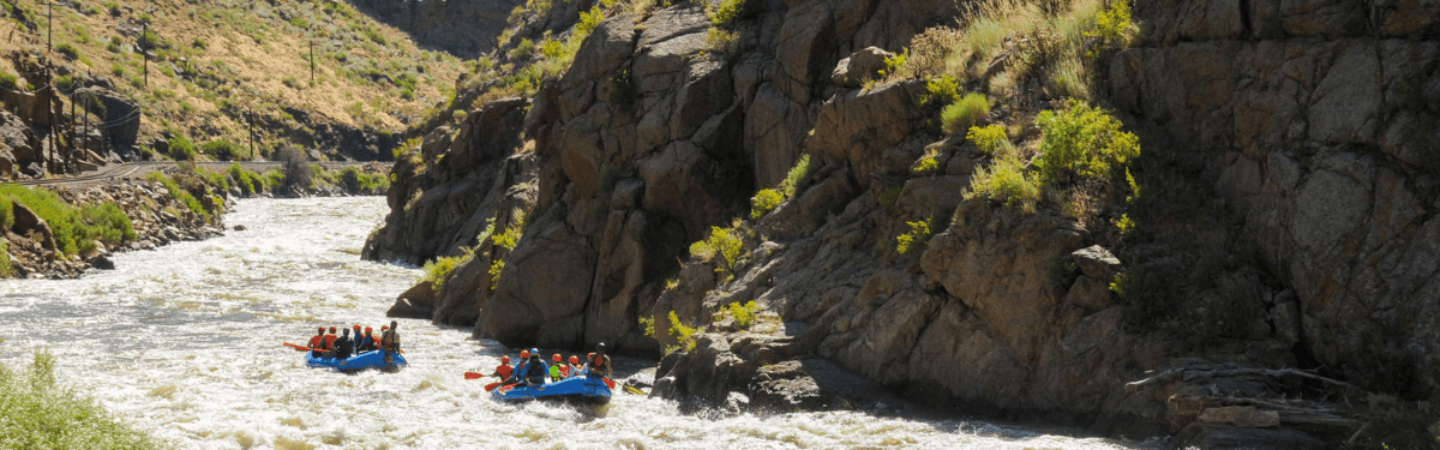
Mile 2.75: Pumphouse Rapid (Class III) — Passes right past the inlet for the “pump house,” which never had a pump in it at all. It used natural water pressure to feed the pipeline.
Mile 2.75: Caretaker Rapid (Class III) — The precursor to Sunshine. Take extra caution in this rapid because you don’t want to be swimming at Sunshine. Big fun wave in the middle of the river at a narrow point.
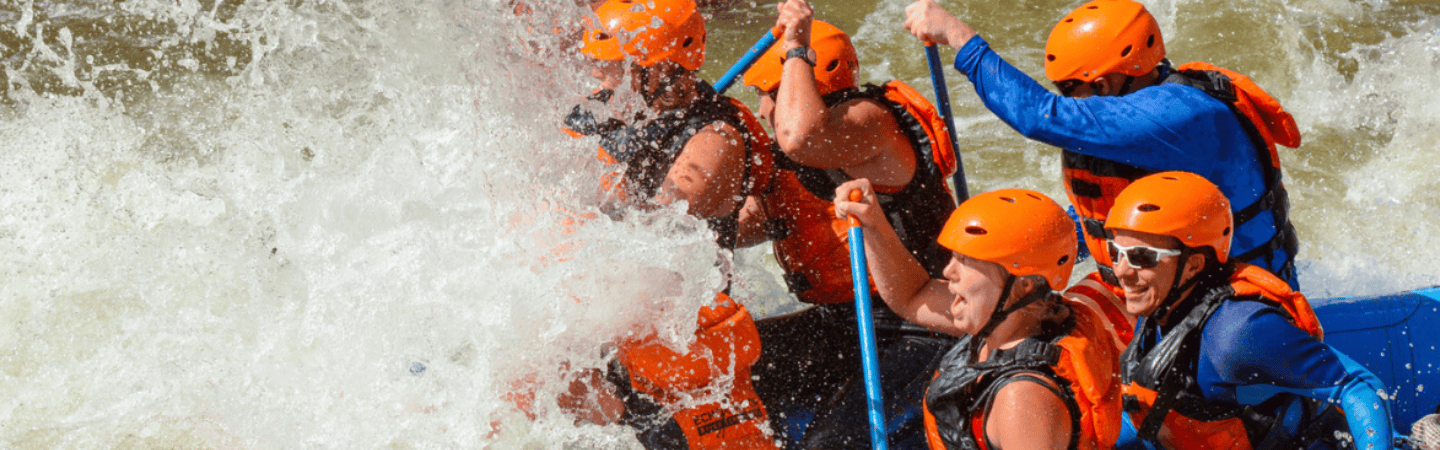
Mile 3: Sunshine Falls Rapid —
Class III–IV (<2000 cfs),
Class IV (at 2000+ cfs),
Class IV+/V (>3000 cfs).
This notorious rapid is one of the hardest in the Gorge at all water levels. You can pull over on river right and walk down to scout. The horizon line is the drop into the rapid. Eddy out on river left after this rapid to set.
Mile 2.8: Grateful Dead Rapid (Class III–IV) — Immediately after Sunshine Falls. Many tombstone-sized rocks in the river to navigate and avoid.
Mile 2.9: Sledgehammer Rapid (Class IV) — House-sized rock on river right indicates you are entering the rapid.
Mile 3.6: Hey Diddle Diddle (Stay out of the Middle) — Large rock at bottom center at low water becomes a large hole at high water. Easily avoid this feature by going left or right.
Mile 4: Ski Jump — The concrete runoff platform on river right marks the beginning of the steep, action-packed section of the gorge called “The Narrows.”
Mile 4.1: Drop 1 (Class III) — First large wave entering the narrows (called “The Welcome Mat”). Can be avoided river right. You don’t want to swim entering the narrows. All drops are relatively consecutive.
Mile 4.2: Drop 2 (Class III–IV) — Second drop has rebar sticking towards your boat on the left shore. The line is center-left — avoid going too far left.
Mile 4.4: Squeezebox (Class II–IV) — A large and aggressive wave forms on the bottom right at higher flows; at lower flows, it’s just a rock.
Mile 4.5: Drop 3 (Class III) — Run down the center, splitting rocks like a field goal. At lower flows, this rapid can become very bony and sticky. Wrapping boats is not uncommon.
Mile 4.6: The Fishbowl — Named for the tourists who used to take the tram from Royal Gorge Park. The 2013 fire damaged the tram, so now the only way to enter is by rafting.
Mile 4.7: Wall Slammer Rapid (Class IV) — Tricky at low water. “The Vortex” feature pulls you toward the wall — you must go right past it or take a piece of it. Most retentive between 800–1300 CFS.
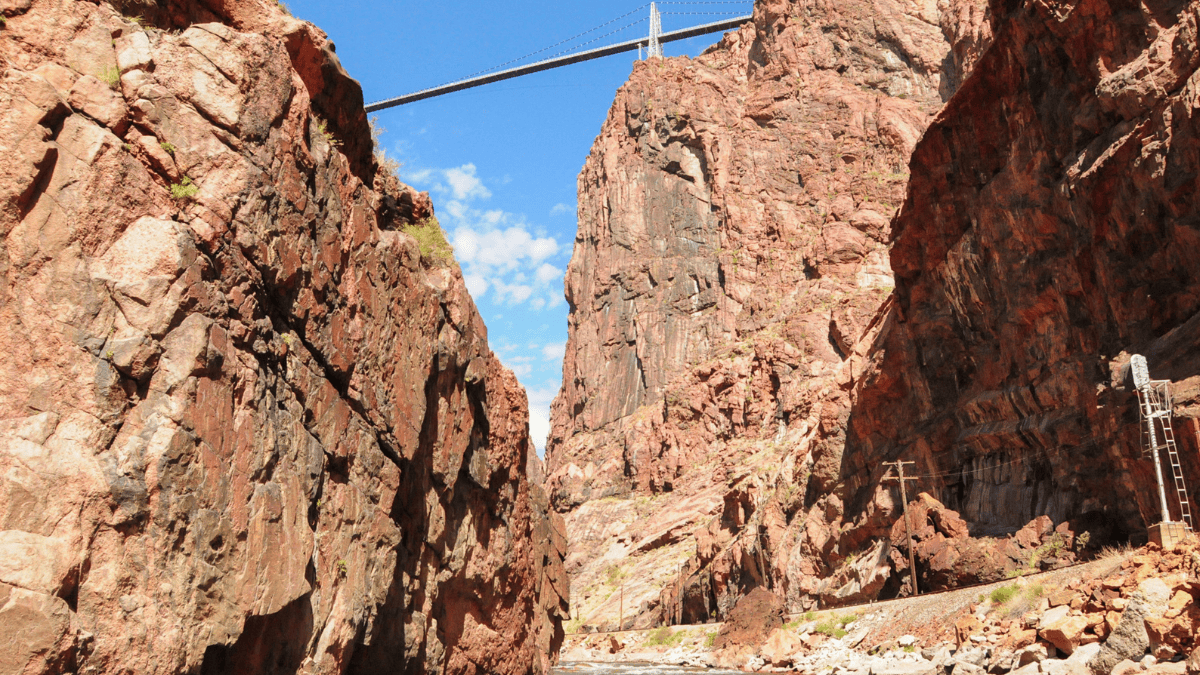
Mile 4.73: Look up! 955 feet above is the Royal Gorge Bridge. Built in 1929, it was the world’s highest suspension bridge until 2003.
Mile 5.2: Boat Eater (Class III–IV) — At high water, a “boat-eating” hole appears. At lower flows, it’s a rock yard with technical navigation through boulders. Enter either right or left.
Mile 5.5: Soda Fountain / Corner Pocket — Great beach to relax on river right after the Class IV section. After this, a few Class III rapids follow. The hardest part of the trip is now behind you.
Mile 5.8: Lion's Head Play Hole — At certain flows, it’s surfable. As you exit, look up river left to see “Lion’s Head Rock” high on the canyon wall.
Mile 5.91: Tombstone Rock (Class II) — Identified by the bridge pillar in the river. Stay right to avoid obstacles.
Mile 6: Exit Waves — Fun, splashy wave train. These waves are some of the biggest at low water.
Mile 6.5: Pipeline Rapid (Class II–III) — A pipeline crosses the river. The river forks here; either line can be run depending on the flow.
Mile 6.6–9.0: Float Out — Class II water to the takeout.
Mile 9: Pinkhouse Takeout (river right) — Commercial use only.
Mile 9.3: Cañon City Wave —
Hazard! LOW HEAD DAM. Stay left! Low head dam on the right.
Mile 10.6: River Station Depot Takeout — Located river left, immediately after you pass under the bridge, just beyond the play wave.