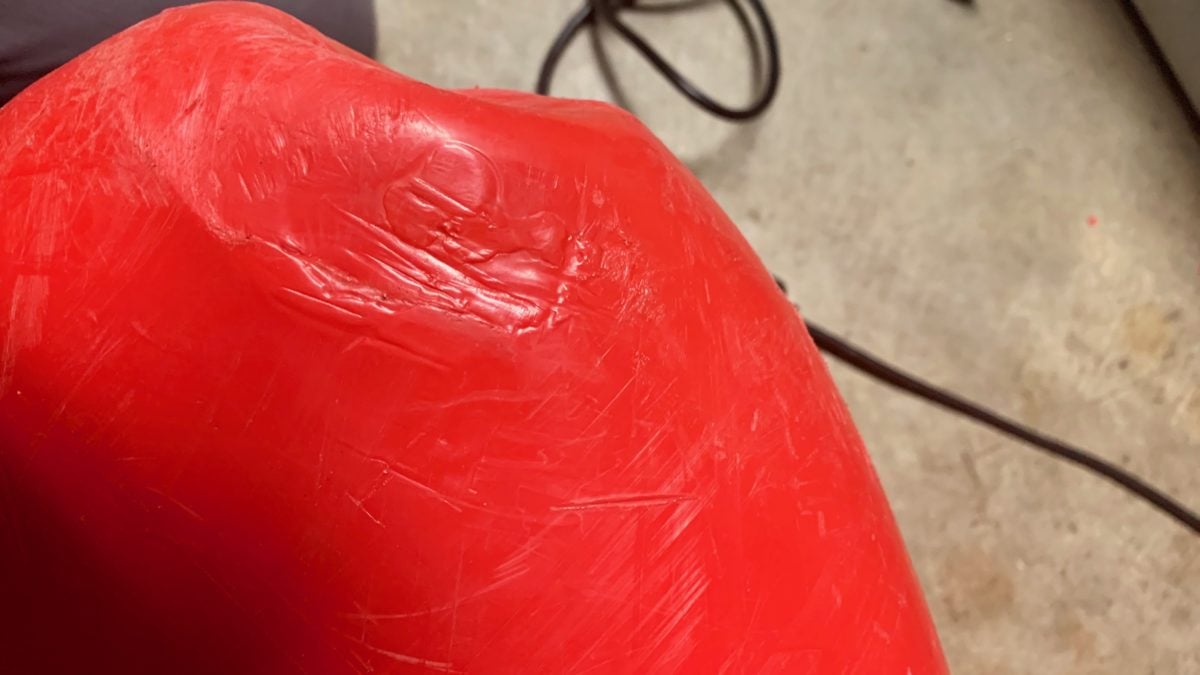
Pro Tip: Plastic Welding Your Kayak
A crack in your beloved kayak doesn't mean game over. Welding up a crack, or even a hole, is possible with the right tools. Before you start it is important to know what type of plastic your boat is. Most new boats are made of high-density polyethylene (HDPE), which is a thermoplastic, meaning it can be heated multiple times. This makes is very conducive to welding those cracks or holes. Some older boats, think early 2000s Jackson Kayaks, are high-density crosslinked polyethylene (XLPE). Being a thermoset plastic, it can only be heated once and will likely burn if you try to weld it.
Plastic Welding Tools
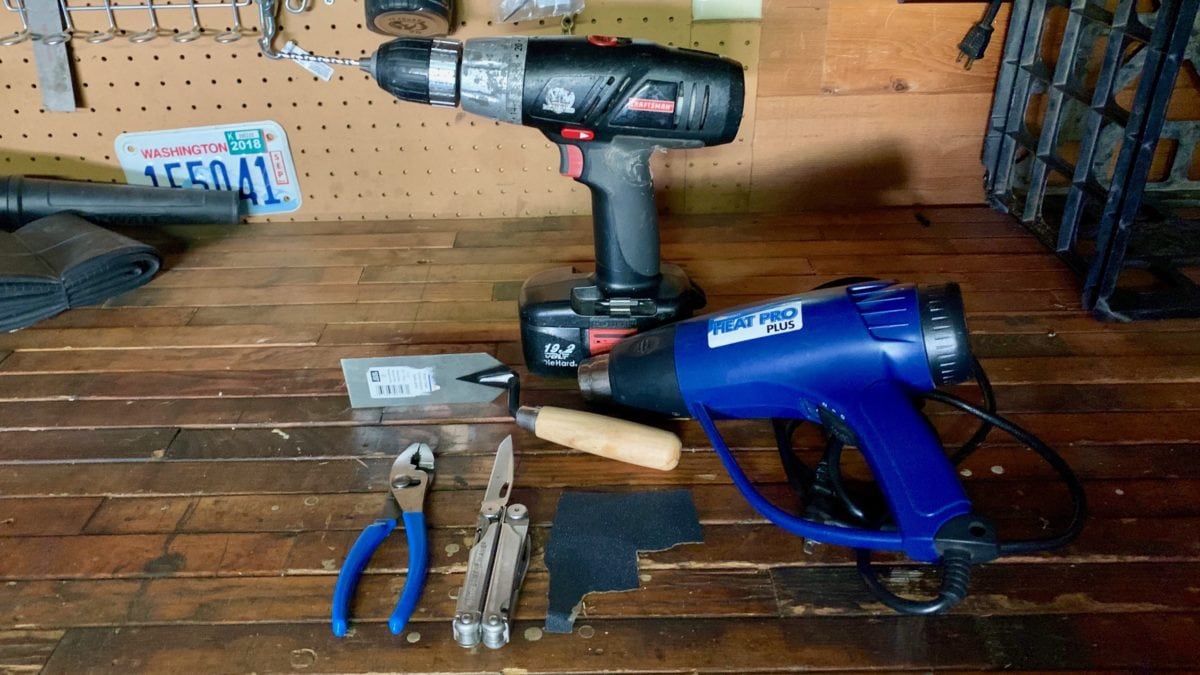
I think many people are scared to fix a crack in their boat because of the word "welding." However with a little practice it is a pretty easy and straight forward task. Here are the tools you will need
- Drill and small drill bit
- Metal scraper
- Pliers
- Knife, box cutter, or razor blade
- Heat gun or welding iron
- Welding rods or plastic from your boat
- Rubbing alcohol or mineral spirits
Step One: Prep
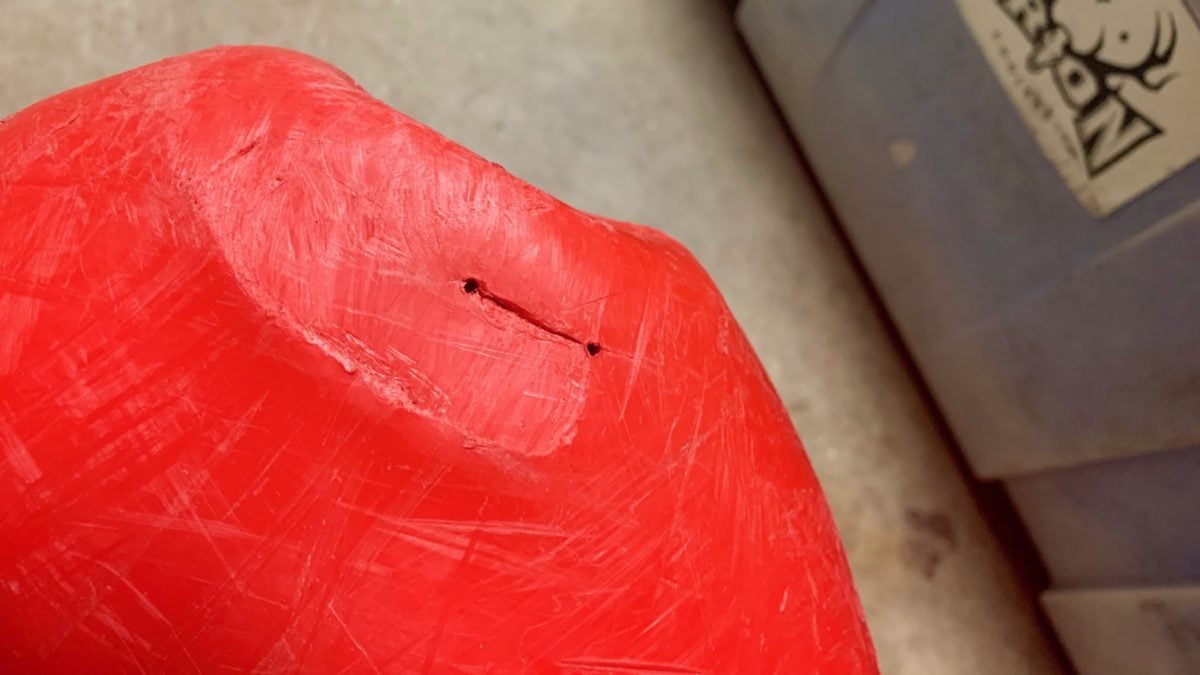
Start by washing the area with soap and water to get dirt and grim off. Get your drill ready with a small drill bit. Bit size is based on how wide the crack is. Smaller the better. You are going to drill small holes at each end of the crack to keep it from spreading. Keep the holes small so you don't have to fill them in with more plastic. Next lightly scrap and sand the area around the crack. Use the edge of your scraper to make a small "V" in the crack. This will help bond the plastics together. Before proceeding to the next step make sure everything is clean. Rubbing alcohol or minerals spirits will remove any remains grim and oils.
Step Two: Material
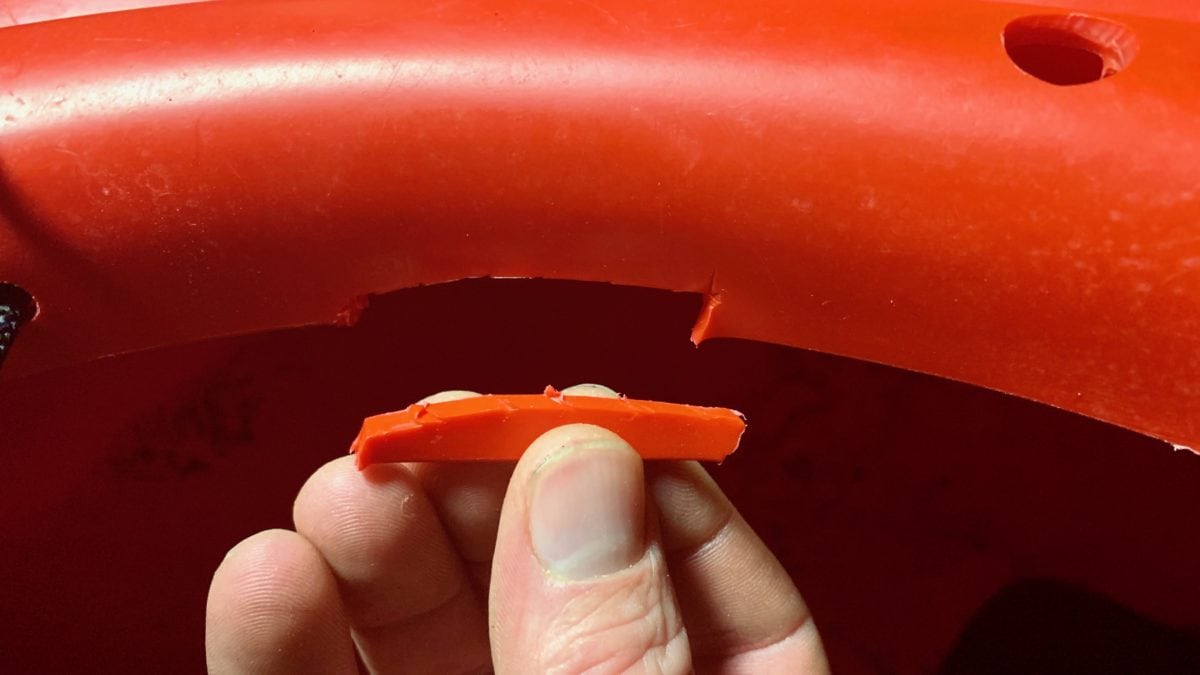
There are two options for getting the material you need to make your weld. I will refer to this plastic as your rod in the coming steps. Your first option is cutting some plastic from the rim of your boat. This is a great option if you only need to weld a small crack. However, if you have a large crack it might be easier to buy long HDPE rods. Now that you have a surface clean and some plastic, you are ready to move on.
Step Three: Heating
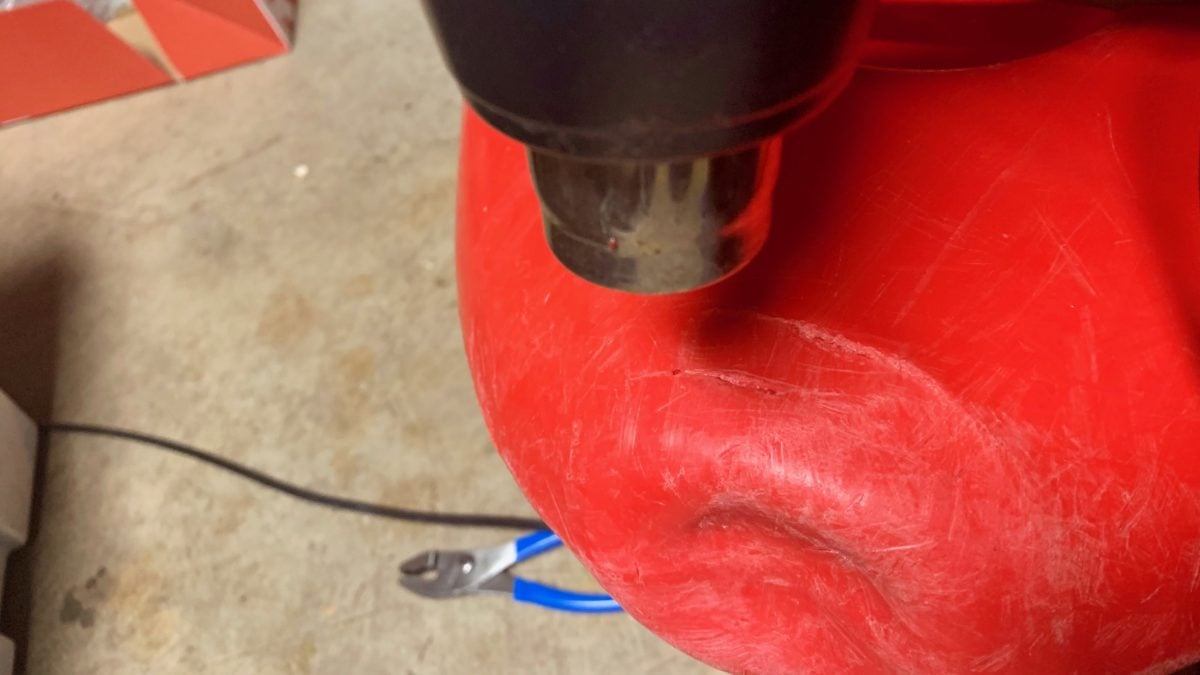
This step is where things get a little more complex. Heating plastic gives off some fumes so make sure you are working in a well ventilated room and think about a respirator. Start heating up the area around your crack. I suggest low heat and patience. Once it becomes shinny it is ready. Now you need to start heating up the rod. Hold it with your pliers and start slowly heating the rod until it is shinny. Press the rod into the crack with a twisting motion. You want to keep things hot, while mixing the two plastics together. Mix plastic from the rod the full length of the crack plus extra on each end.
Step Four: Finishing Touches
Don't for get your main goal is to seal up the crack. Get your scrapper out and carefully smooth things out. Make sure you have the entire crack covered with new plastic. This is also the best time to make sure you don't have any thin spots, big pools of plastic, or any remaining holes. Try your best to make it look like nothing ever happen. Once the plastic has had time to cool it will be ready to hit the river.
Other Tips and Tricks
- Drilling holes and heating up your beloved kayak can be intimidating. Get yourself a plastic bucket and practice the above steps to get a feel for it.
- Go slow and be careful not to over heat anything.
- For big/long cracks use some fine wire mesh as reinforcement.
- A crack in a boat made from XLPE may not be the end of the world. Check out this video for some tips on welding XLPE.
Feel free to share welding stories or tips in the comment below.
